How Tailscale Transformed Secure Access to My Homelab
Connecting to services in a homelab can be a headache, especially when you want strong security without the hassle of port forwarding, firewall rules, or wrestling with certificates. Last year, I discovered Tailscale and introduced it to my homelab. Tailscale has become my solution for secure, reliable, and zero-fuss access to certain services in my homelab—which I do not want to expose via the public internet. In this post, I’ll walk through what makes Tailscale so effective, how to set it up, and the best practices I’ve picked up along the way.
What is Tailscale?
Tailscale is a zero-config VPN built on WireGuard, designed to make your devices communicate as if they’re on the same local network—no matter where they are. Each device runs a lightweight agent that forms encrypted, peer-to-peer tunnels to other devices in your network (your “tailnet”). A central coordination server handles authentication and key distribution, but never sees your actual traffic. Access control is managed centrally with simple ACL rules, making it easy to define exactly who or what can access your services.
Why Tailscale for the Homelab?
Before Tailscale, remote access to my homelab meant juggling dynamic DNS, opening ports, and watching firewall logs for suspicious activity. With Tailscale, every device—laptop, phone, server, or VM—gets a stable IP and hostname, and all traffic is end-to-end encrypted. I can SSH into my servers, access web dashboards, or even stream media from anywhere, without exposing a single port to the public internet.
Key benefits for homelabbers:
- Zero-trust by default: No device can talk to another unless explicitly allowed.
- No port forwarding: Everything works behind NAT.
- Granular access control: ACLs let you tightly control who can access what.
- Works everywhere: macOS, Windows, Linux, iOS, Android, and even Docker containers.
Getting Started: Setting Up Tailscale
1. Create a Tailscale Account
Signing up is as simple as authenticating with Google, Microsoft, GitHub, or Apple. Just head to tailscale.com, click Get Started, and log in with your preferred identity provider. You’ll land in the admin console, ready to start building your tailnet.
2. Install Tailscale on Your Devices
macOS
- Download the installer from tailscale.com/download or the App Store.
- Run the
.pkgfile and follow the prompts. - Open Tailscale, sign in, and allow VPN configuration.
Windows
- Download the
.msiinstaller from tailscale.com/download. - Run it, open Tailscale from the Start menu, and log in.
Linux
1
2
curl -fsSL https://tailscale.com/install.sh | sh
sudo tailscale up
If your distro uses systemd, enable autostart:
1
sudo systemctl enable --now tailscaled
iOS
- Install Tailscale from the App Store.
- Open the app, log in, and allow VPN configuration.
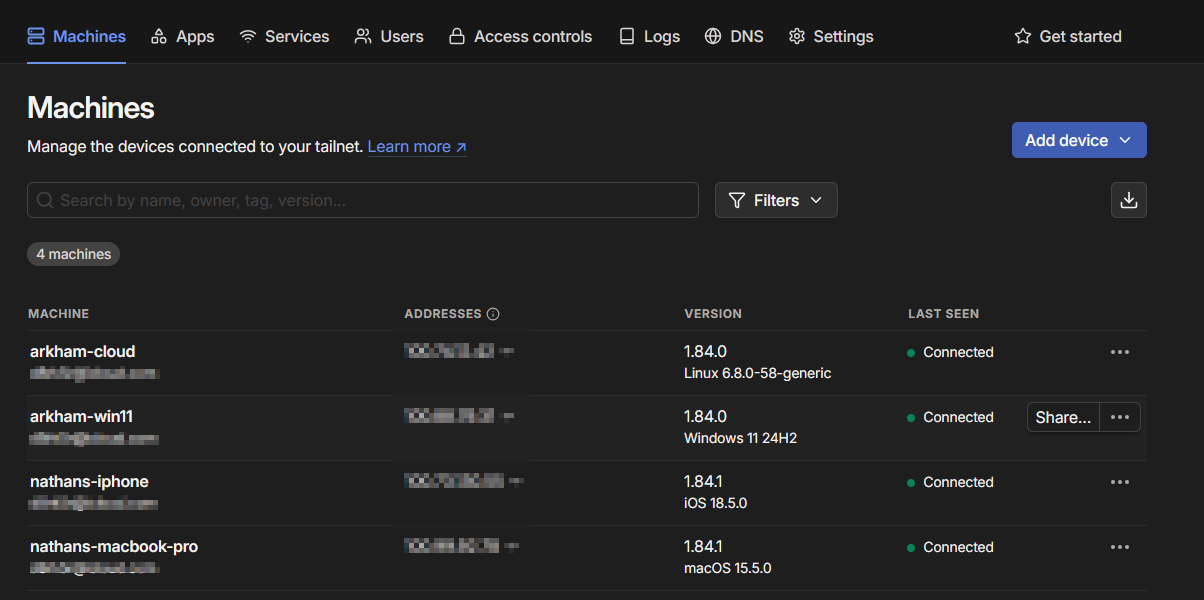
3. Confirm Devices in Your Tailnet
Head to login.tailscale.com/admin/machines and make sure all your devices appear as Connected. Each one gets a unique Tailscale IP and hostname.
4. Test Connectivity
From one device, try pinging another using its Tailscale IP or hostname:
1
2
ping 100.x.x.x
ssh <user>@<hostname>
On Windows, use Command Prompt:
1
ping 100.x.x.x
On iOS, an app like Termius lets you SSH into other devices.
Fine-Tuning Access: Using ACLs
Tailscale’s Access Control Lists (ACLs) are a powerful way to define who can access what in your tailnet. The ACLs are managed centrally in a JSON file via the admin console (login.tailscale.com/admin/acls).
Example ACL:
- Allow your MacBook Pro and iPhone to access everything.
- Prevent lab/dev machines from accessing your personal devices.
1
2
3
4
5
6
7
8
9
10
11
12
13
14
15
16
17
18
19
20
21
22
23
24
25
26
27
28
29
30
{
  "hosts": {
    "macbook-pro": "ip-1",
    "iphone":      "ip-2",
    "arkham-lab":          "ip-3",
    "arkham-dev":          "ip-4",
    "arkham-app":          "ip-5",
    "arkham-dev-pc":       "ip-6"
  },
  "acls": [
    {
      "action": "accept",
      "src": [
        "macbook-pro",
        "iphone"
      ],
      "dst": ["*:*"]
    },
    {
      "action": "accept",
      "src": ["*"],
      "dst": [
        "arkham-lab:*",
        "arkham-app:*",
        "arkham-dev:*",
        "arkham-dev-pc:*"
      ]
    }
  ]
}
By default, devices can’t talk to each other unless you add rules. This “least privilege” approach keeps your network tight and secure.
Testing ACLs
You can add test rules to verify your ACLs work as intended. For example, check if arkham-app can access SSH on your MacBook Pro (it shouldn’t):
1
2
3
4
5
6
7
8
9
{
  "tests": [
    {
      "src": "arkham-app",
      "proto": "tcp",
      "accept": ["macbook-pro:22"]
    }
  ]
}
If the test result is “Drop”, your ACL is working.
Enhancing Usability: MagicDNS and HTTPS
MagicDNS
Enable MagicDNS in the admin console (login.tailscale.com/admin/dns) to resolve device hostnames instead of memorising IPs. Now you can SSH into arkham-lab.tailnet-name.ts.net instead of 100.x.x.x.
HTTPS Certificates
You can also enable HTTPS certificates for your devices, making it easy to securely access web services with trusted SSL—no manual certificate wrangling required.
Configuring Global Nameservers
Tailscale lets you specify global DNS servers for your tailnet. In the DNS settings, add your preferred nameserver (e.g., Cloudflare, Google) and enable the Override DNS servers toggle. This ensures all devices use your chosen DNS, improving consistency and privacy.
Troubleshooting Tips
- If a device doesn’t appear in your tailnet, check that the Tailscale agent is running and logged in.
- For connectivity hiccups, try restarting the Tailscale service or re-authenticating.
- Use the admin console’s ACL tests to debug access issues before they become headaches.
Final Thoughts
Tailscale has dramatically simplified secure access to my homelab. With its zero-config setup, robust access controls, and seamless cross-platform support, I can connect to any service, anywhere, without exposing my network to unnecessary risk. Whether you’re running a single Raspberry Pi or a rack of servers, Tailscale makes secure networking effortless—and once you’ve tried it, you’ll wonder how you ever managed without it.